In this article, we are going to see How to quickly install and configure a lamp stack in google Cloud with a few simple steps
Before we begin. Let us start with some basics.
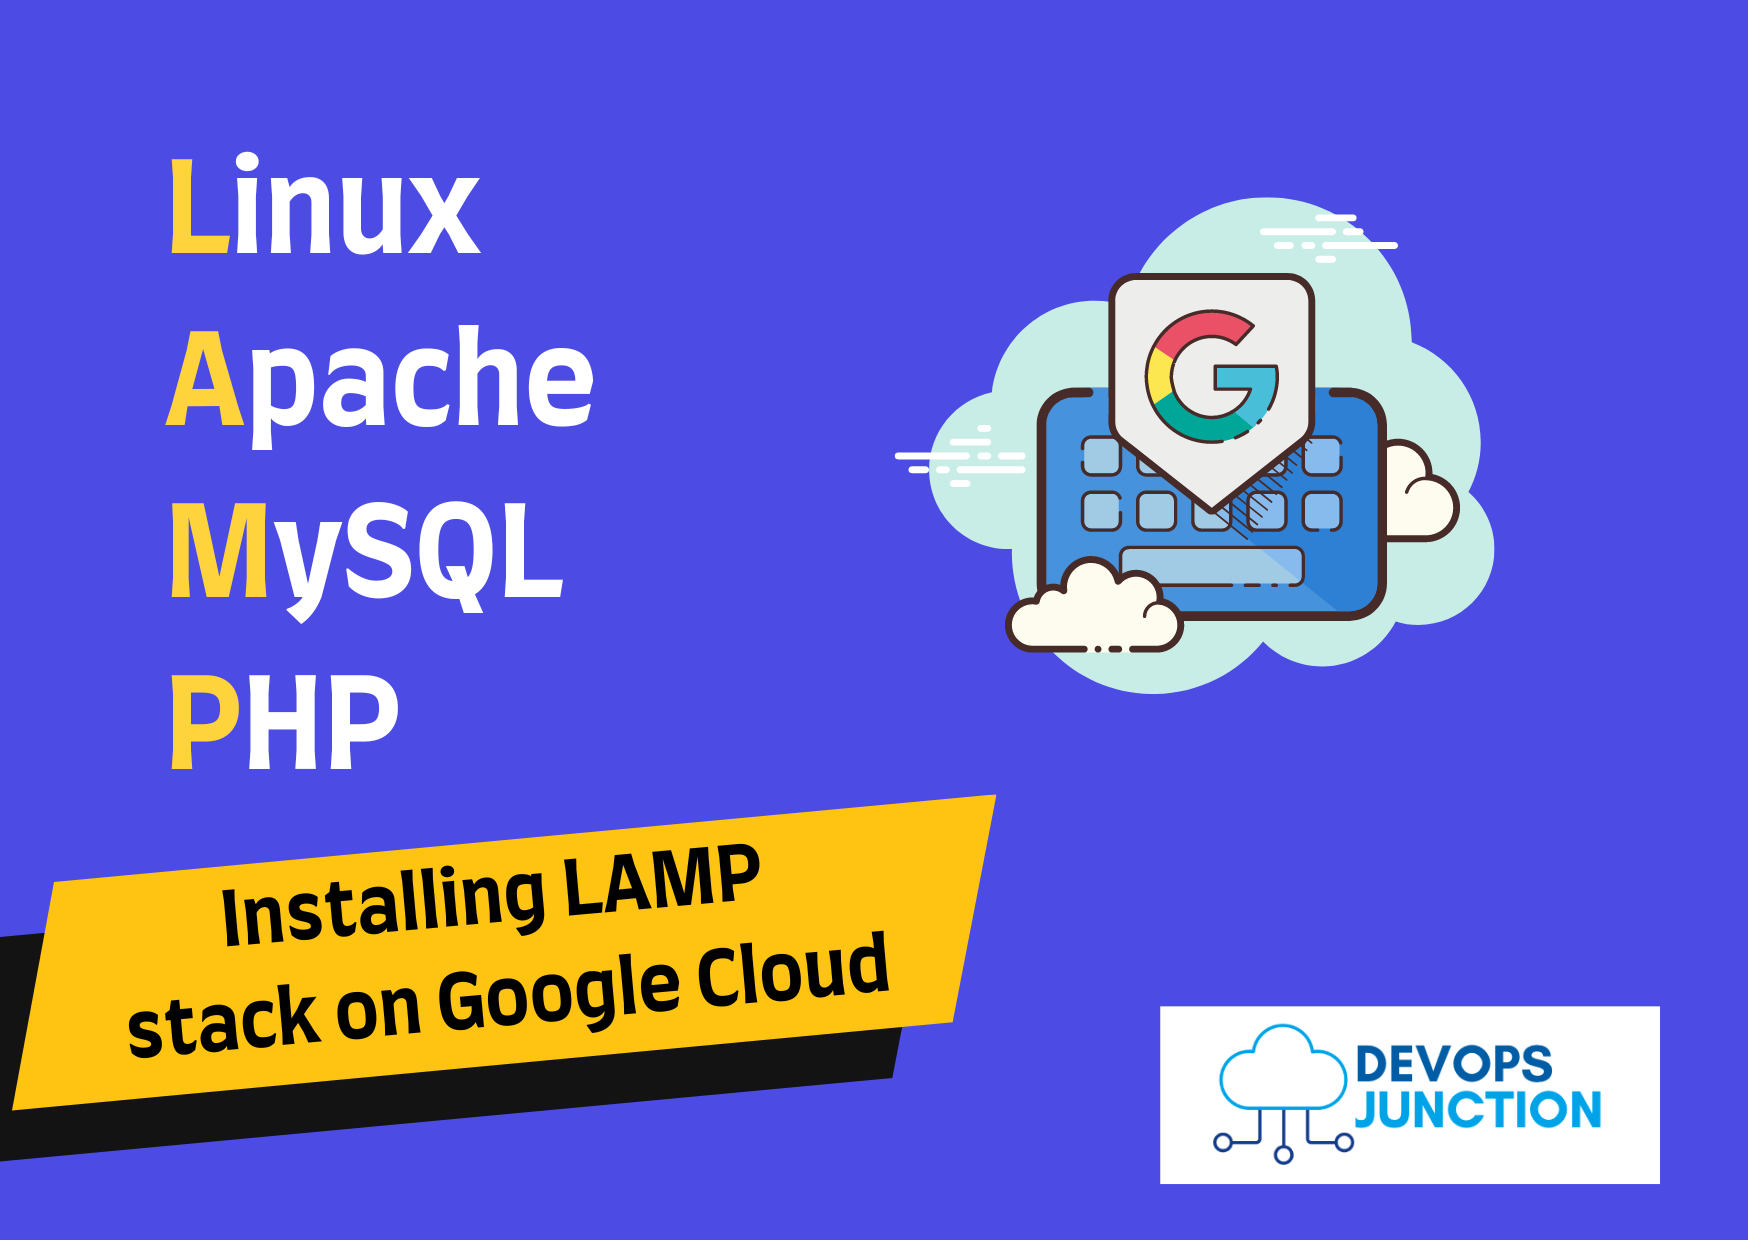
What is LAMP?
In the dev world we hear the acronym LAMP stack tossed around, but what is it exactly? It stands for Linux Apache MySQL PHP/Perl/Python — all that a web developer would need to do his/her thing.
So as a cloud engineer or an admin, you can use the wonderful power of Google Cloud Platform to spin up a LAMP stack server and deliver it to your web-dev team!
The best part is, it is super easy! I am not taking full credit because this training is available if you are following Google’s Cloud Skill Boost, but I am simplifying it and adding pictures so you don’t have to pay before reading about it.
Ready? Let’s go then!.
Step 1: Open Google Cloud Console
Fire up your Google Cloud Console. Got it? Good!
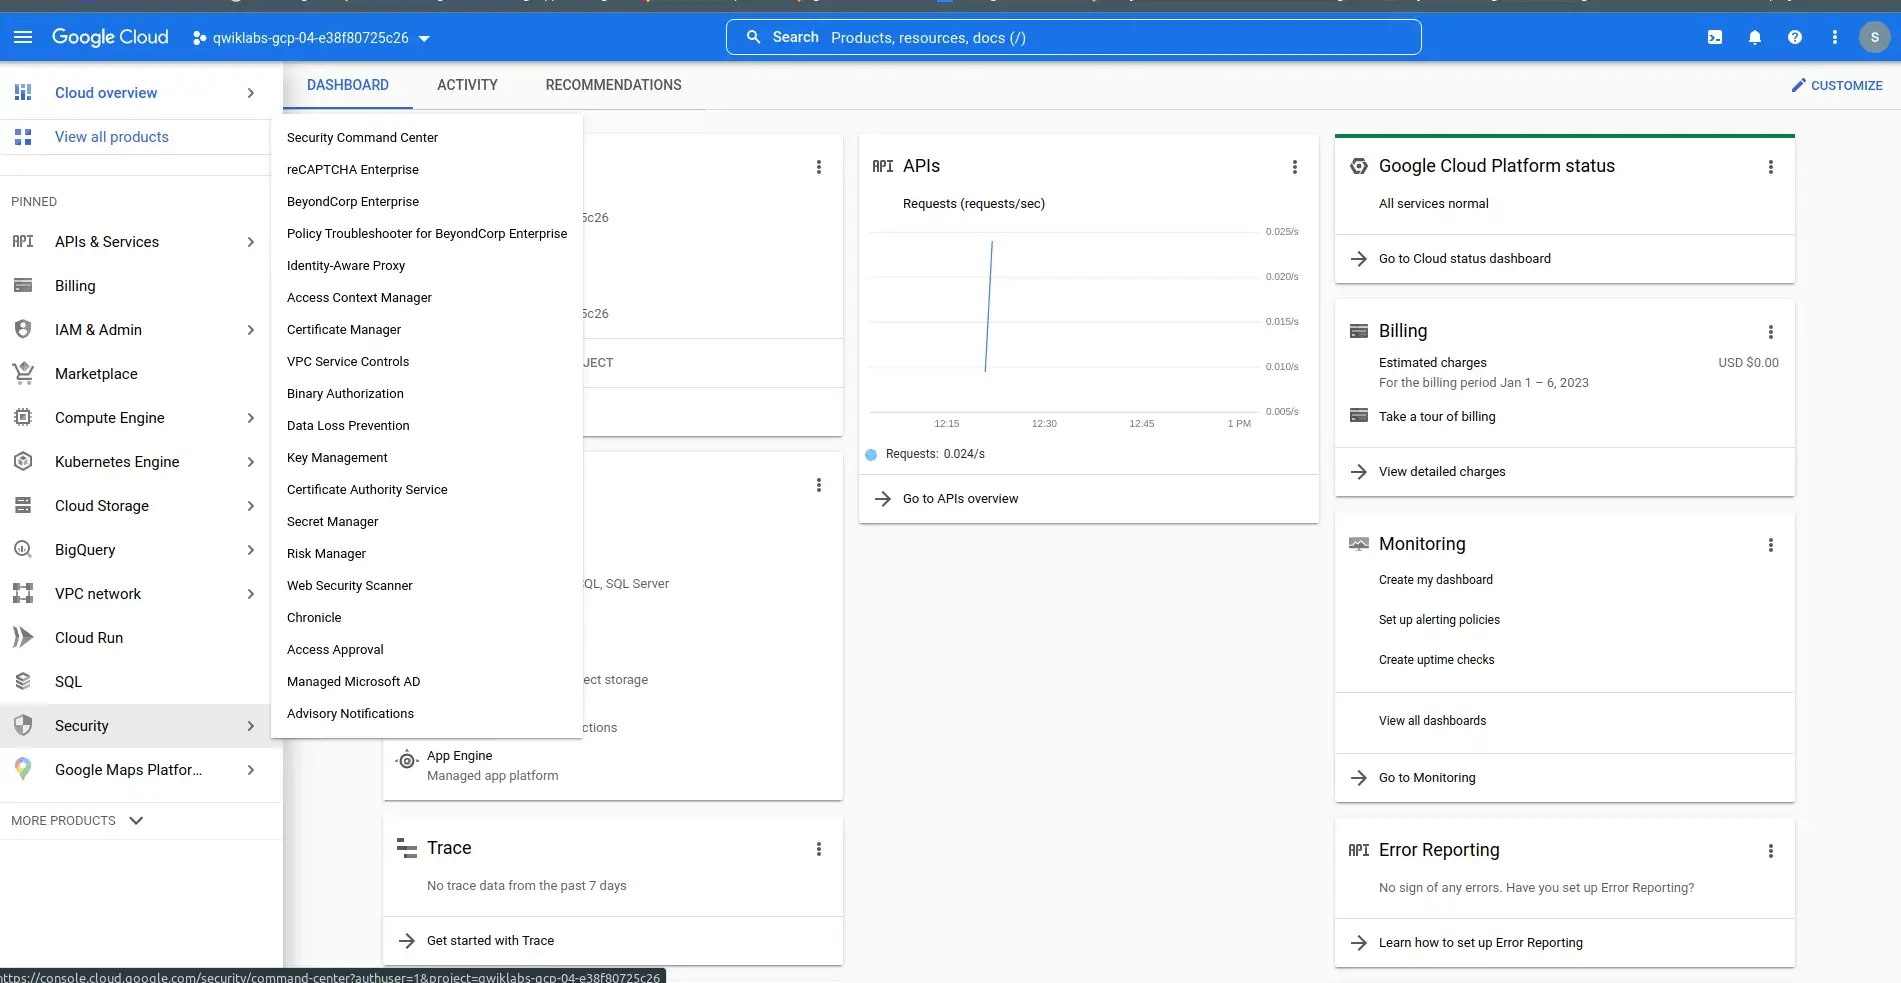
Step 2: Go to Marketplace
On the left Navigation menu, click on Marketplace. Easy and almost there!
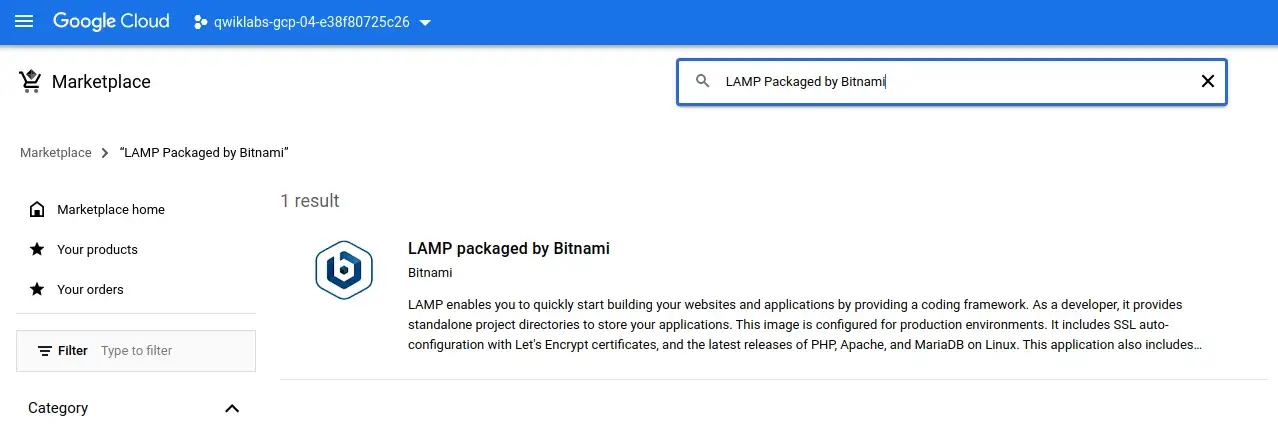
Step 3: Choose the LAMP Package
Search for LAMP Packaged by Bitnami. Click on the package.
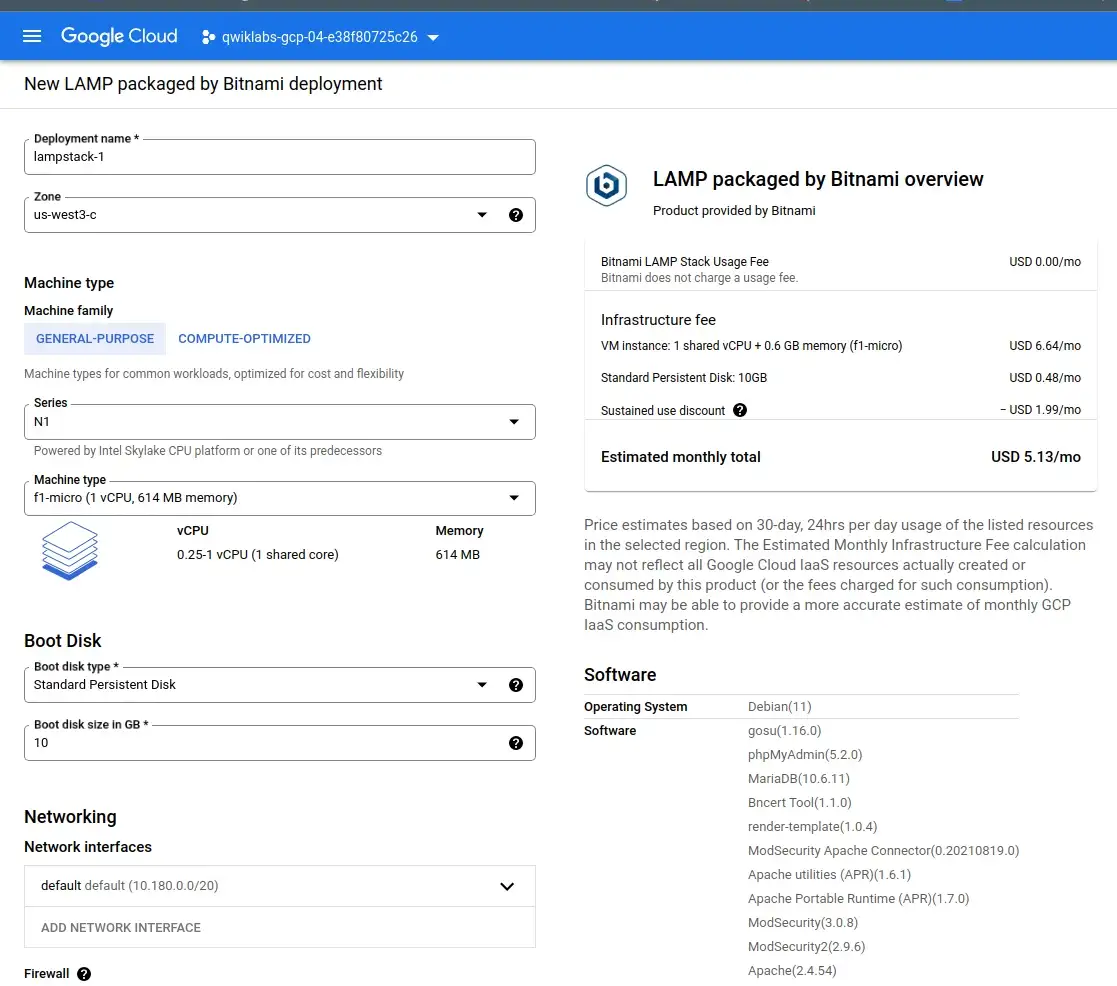
Step 4: Launch the Package
On the LAMP page, click Launch. You will be brought to quickly create an instance — leave all as it is.
Step 5: Read and Accept the Terms
Accept terms if asked. Click Deploy. Hint: scroll to the bottom of the above screen to see it- it is there 🙂

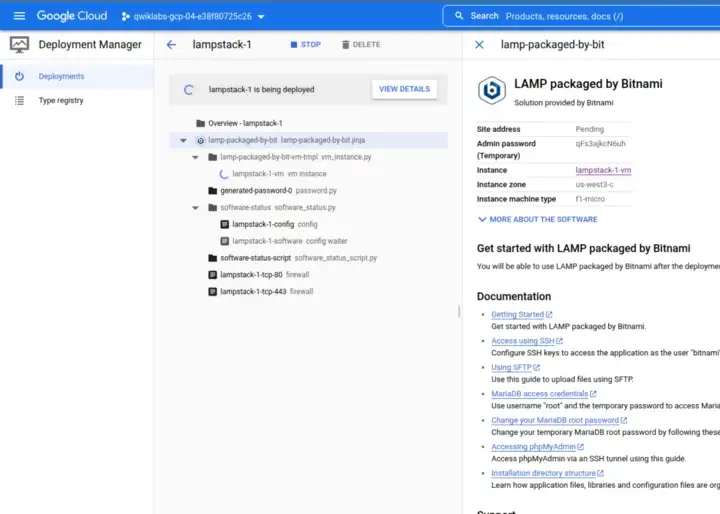
Step 6: Deploy the Package
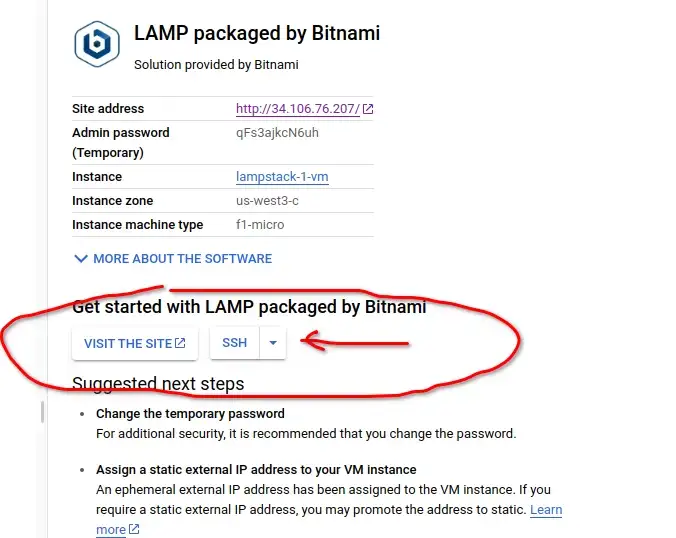
Welcome to Deployment Manager screen pops up — Close it. After the stack finishes being created, you will see a summary screen.
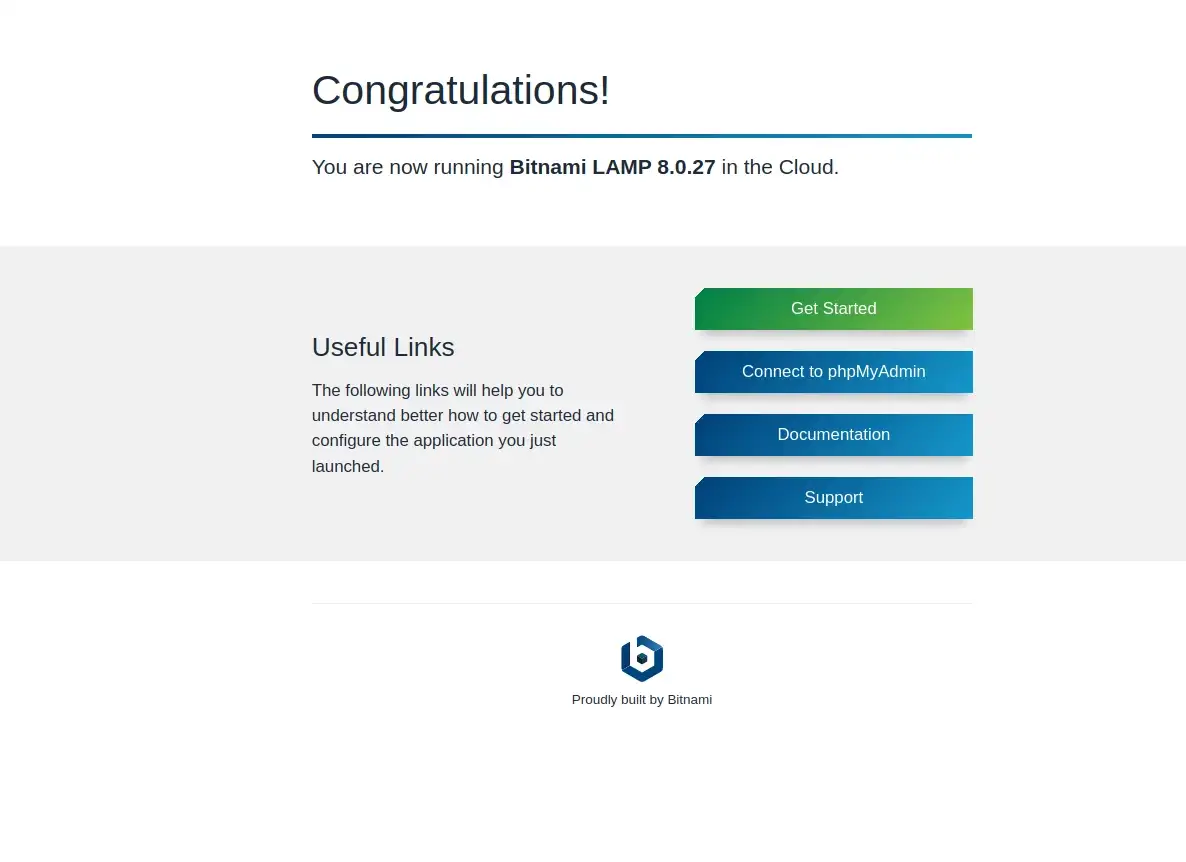
Step 7: Verify the Deployment
Verify the deployment by clicking on the “Site Address” on the right side of the above screen. The Congratulations! screen will pop up on a new screen — close it out.
Step 8: SSH to the server and validate
Back to the Google Cloud Console, go to the heading Get started with LAMP Packaged by Bitnami, click SSH (about to get real here, ha)!
Step 9: Create a PHP file
You will get a Linux screen. Just plug in all that you see on my screenshot (just do it):
cd /opt/bitnami

sudo sh -c ‘echo “<?php phpinfo(); ?>” > apache2/htdocs/phpinfo.php’
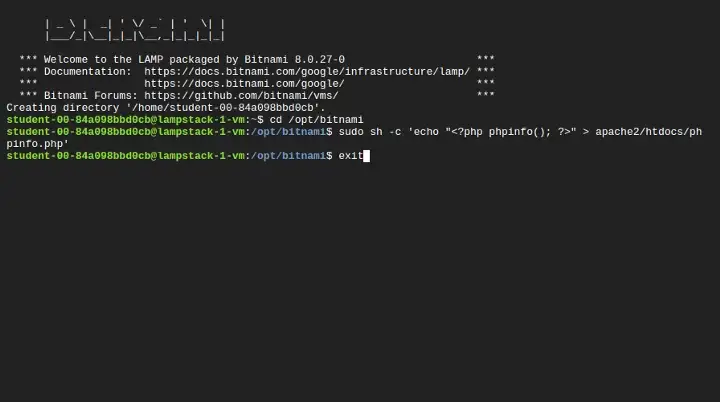
Step 10: Exit SSH
Go ahead and close out of this screen by typing: exit
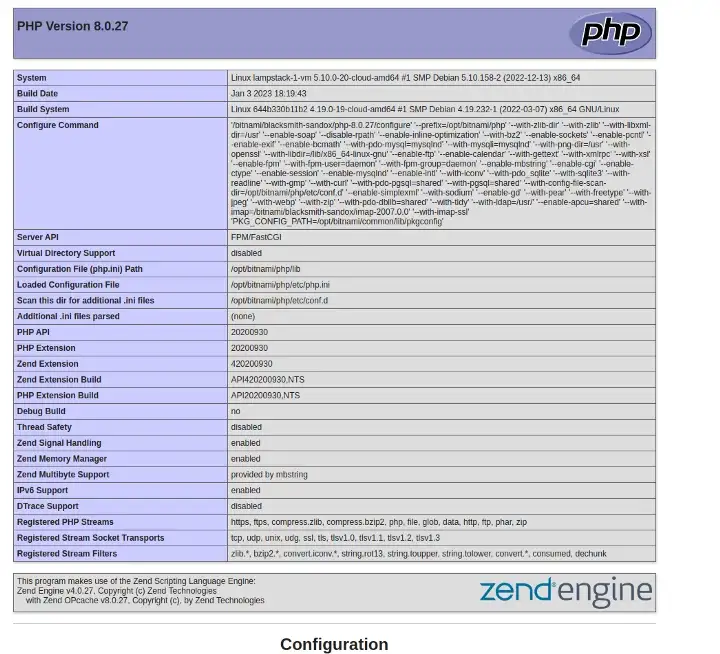
Step 11: Validate the Site through the browser
Ok, now open a new browser tab and type this:
http://SITE_ADDRESS/phpinfo.php
Replace “SITE_ADDRESS” with the Site address on the right pane of the lamp stack page (on the Google Console you are in; the same one you clicked to test your page earlier).
So it might look like this (example): http://34.567.345345.0/phpinfo.php
If you did it right, you would get:
Step 12: LAMP stack is ready
Close out the tab and you are good to go!!! Cloud master!
Cheers
George Sikalos

Find George on LinkedIn Follow DevopsJunction onFacebook orTwitter For more practical videos and tutorials. Subscribe to our channel For any Consultation or to hire us [email protected] If you like this article. Show your Support! Buy me a Coffee.
Signup for Exclusive "Subscriber-only" Content