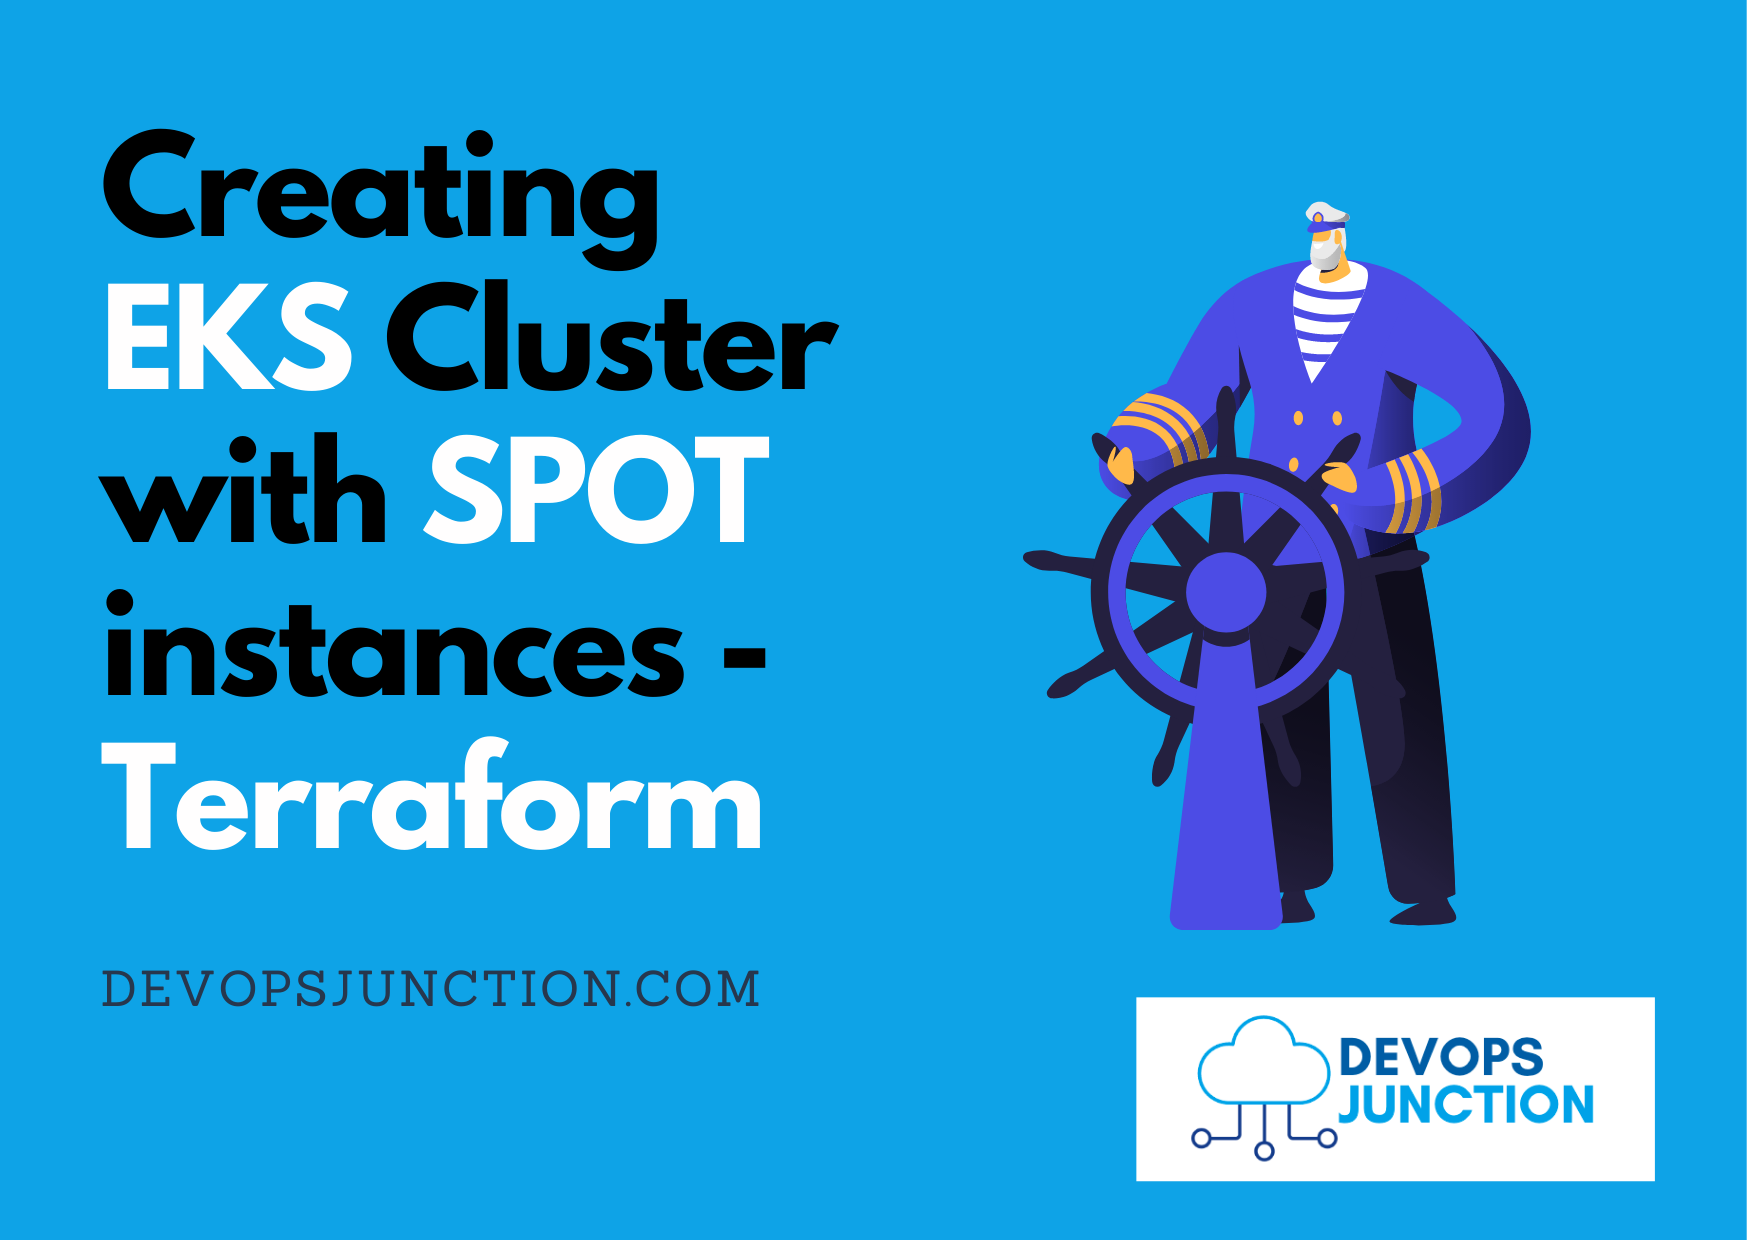
In this article, we are going to see how to create an EKS Cluster with SPOT and OnDemand instances using Terraform.
If you have prior experience with AWS, you might know what is SPOT instances and ondemand instances are. Let us start with a quick introduction towards SPOT instances.
Quick Introduction to AWS SPOT instances
AWS Provides the unused/unoccupied EC2 instances for up to a 90% cheap rate in the name of SPOT instances.
While these instances are just like the Default OnDemand EC2 instances, their availability is not guaranteed. SPOT instances can be reallocated anytime to other users so your application availability would be affected.
This is suitable for Highly Scalable workloads primarily in DEV and QA environments. Not recommended for Production.
When one Spot instance gets reallocated we always get a new SPOT instance to take cover.
SPOT instances work perfectly with EKS and you can use SPOT instances to scale your production application when there is a demand. once the usage has come down you can shutdown those instances.
You can use the following methods to provision and deprovision nodes
- Cluster AutoScaler
- Karpenter
I have written a dedicated article on how to use Karpenter for cluster autoscaling. read the article here
Now you know about the SPOT instances I hope. Let us move on to our objective
Objective
Our objective for this article is to create a VPC with necassary subnets and a EKS Cluster with two managed worker groups. One with OnDemand instances another with SPOT instances
To schedule our application workload to the right nodes. we are adding a nodeselector during the creation itself
For Spot instance we are adding the following Label
"--node-labels=node.kubernetes.io/lifecycle=spot"
For OnDemand instances, using the following label
"--node-labels=node.kubernetes.io/lifecycle=ondemand"
this lets us schedule the important workloads to the on-demand instances and scalable workloads and temporary pods to spot instances.
Note*: EKS WorkerGroups and NodeGroups are different. we have talked about it later in this article.
Download the Terraform Code from Github
All the necessary Terraform code for this article is available in my GitHub repository.
You can clone my repository and begin to make changes
https://github.com/AKSarav/TerraformEKS-SPOT
Quick note:
We are using the following modules in our terraform config ( why to reinvent the wheel when you can be efficient )
- terraform-aws-modules/vpc/aws -3.2.0
-
terraform-aws-modules/eks/aws - 18
we are referring to these modules directly in our tf files using module and source. so no manual intervention required there.
Customize the Terraform Configuration
Once you have downloaded the code from the Github, Now you can make further customizations
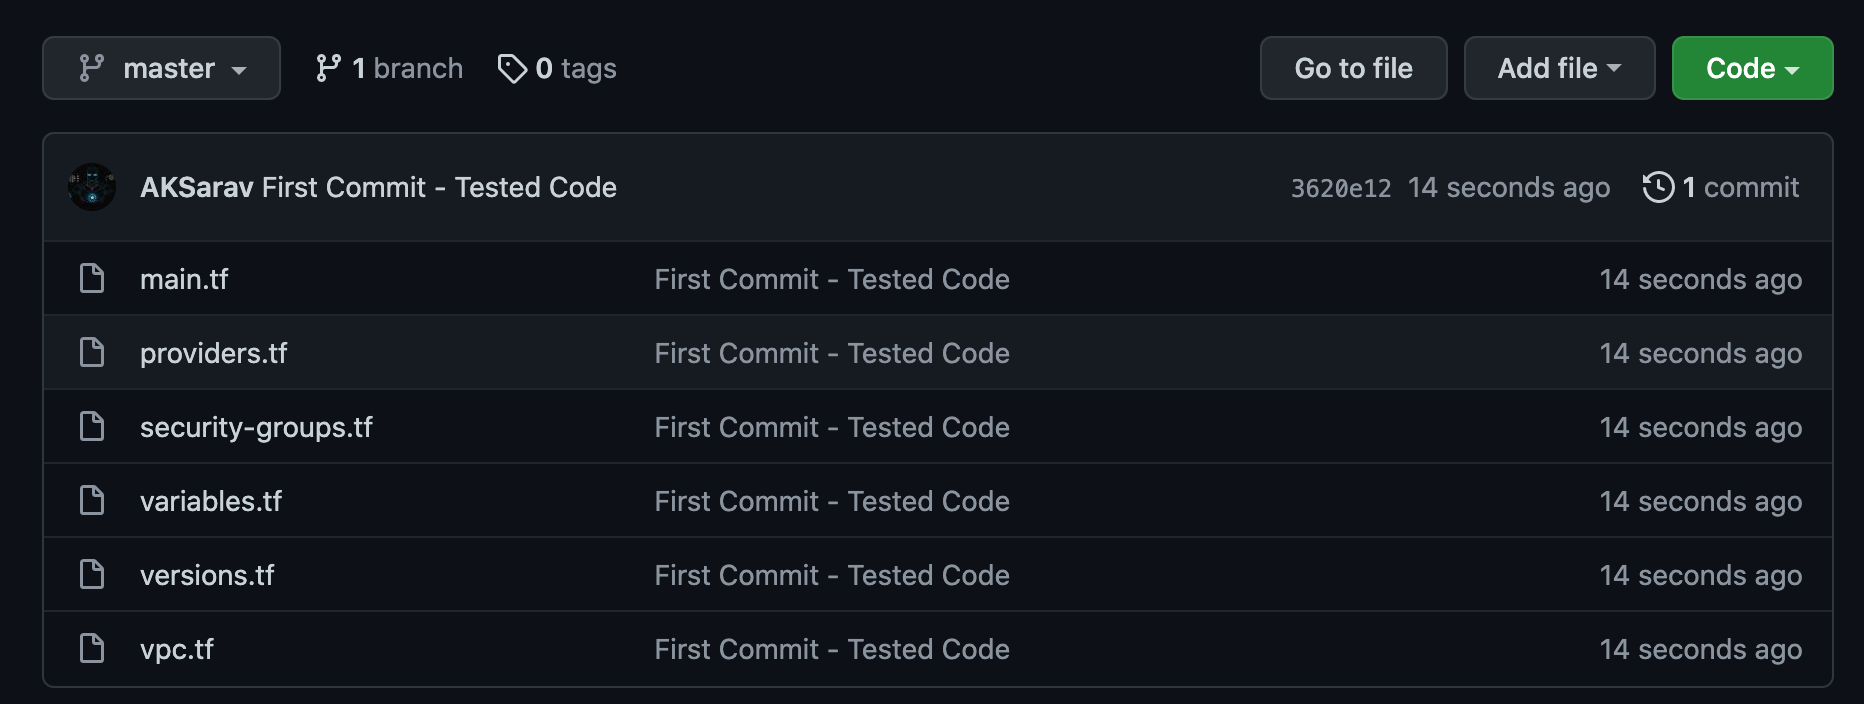
Here is the quick snapshot to validate the list of files once downloaded
The code can be modified to suit your need. Here are few things you can consider changing
- Cluster name
- Number of instances
- Instance type and capacity ( t2.small, t3.small etc)
We are using the clustername as the VPC name to keep things simple and to find out easily which VPC belongs to EKS.
Updating the Provider configuration ( AWS Profile )
For Terraform to connect to AWS, you need to either pass the AWS Key and secret or let terraform use the AWS CLI installed locally.
If you are managing multiple AWS accounts using AWS CLI, you must be multiple having named profiles. In my case, I am using a profile named personal
This is the content of my providers.tf file
provider "kubernetes" {
  host                   = data.aws_eks_cluster.cluster.endpoint
  token                  = data.aws_eks_cluster_auth.cluster.token
  cluster_ca_certificate = base64decode(data.aws_eks_cluster.cluster.certificate_authority.0.data)
}

provider "aws" {
  region = "us-east-2"
  profile = "personal"
}
You can see that I am using us-east-2 as my region and personal as my aws cli profile
Update it to suit your setup.
New to AWS CLI. learn what is named profile from here
If you are completely new to AWS and Terraform and trying to create your first AWS setup with Terraform. Please go through the following article to learn some basics
Updating the Cluster Name
You need to update the variables.tf file with the cluster name of your choice. I have used GritfyEKS as the name
variable "clustername"{
    default = "GritfyEKS"
    description = "Gritfy  EKS Cluster"
}
Updating the Worker Group configuration
In the same variables.tf file you can find more elements to update
- spot_instance_types - list of instances that can be used while creating Spot instances
- ondemand_instance_type - A single instance type to use for creating ondemand workergroup
- spot_max_size - Maximum number of SPOT instances that can be created
- spot_desired_size - How many spot instances are to be created at the beginning
- ondemand_desired_size - how many on-demand instances to create at first
variable "spot_instance_types"{
    default = ["t3.small","t2.small"]
    description = "List of instance types for SPOT instance selection"
}
variable "ondemand_instance_type"{
    default = "t3.medium"
    description = "On Demand instance type"
}
variable "spot_max_size"{
    default = 2
    description = "How many SPOT instance can be created max"
}
variable "spot_desired_size"{
    default = 2
    description = "How many SPOT instance should be running at all times"
}
variable "ondemand_desired_size"{
    default = 2
    description = "How many OnDemand instances should be running at all times"
}
Once you are done with all these three things. we are good to go and start.
If you have the right privileges in AWS. you should not be having any issues along the way. In case of any support do let us know in the comments
EKS Worker Group vs NodeGroup ( The Difference )
This terraform configuration is designed to worker group instead of nodegroup.
EKS supports two types of instance groups.
- WorkerGroups - Self Managed Group of EC2 instances, where the patching and upgrade has to be done by the DevOps Engineer with caution
- NodeGroups - AWS Managed Group of EC2 instances, where the patching and upgrade can be done with a single click from the AWS console.
If you are going for production you can choose to go with NodeGroups and the terraform configuration would be different for the same. This is called EKS Managed Node Group
In this article, Our Terraform code is designed with WorkerGroup it means that the EC2 instances created and attached with EKS should be managed by us.
Terraform init and Apply
Once you have made the necessary changes. Now you can go for Initializing your Terraform
This installs the necessary modules and the providers.
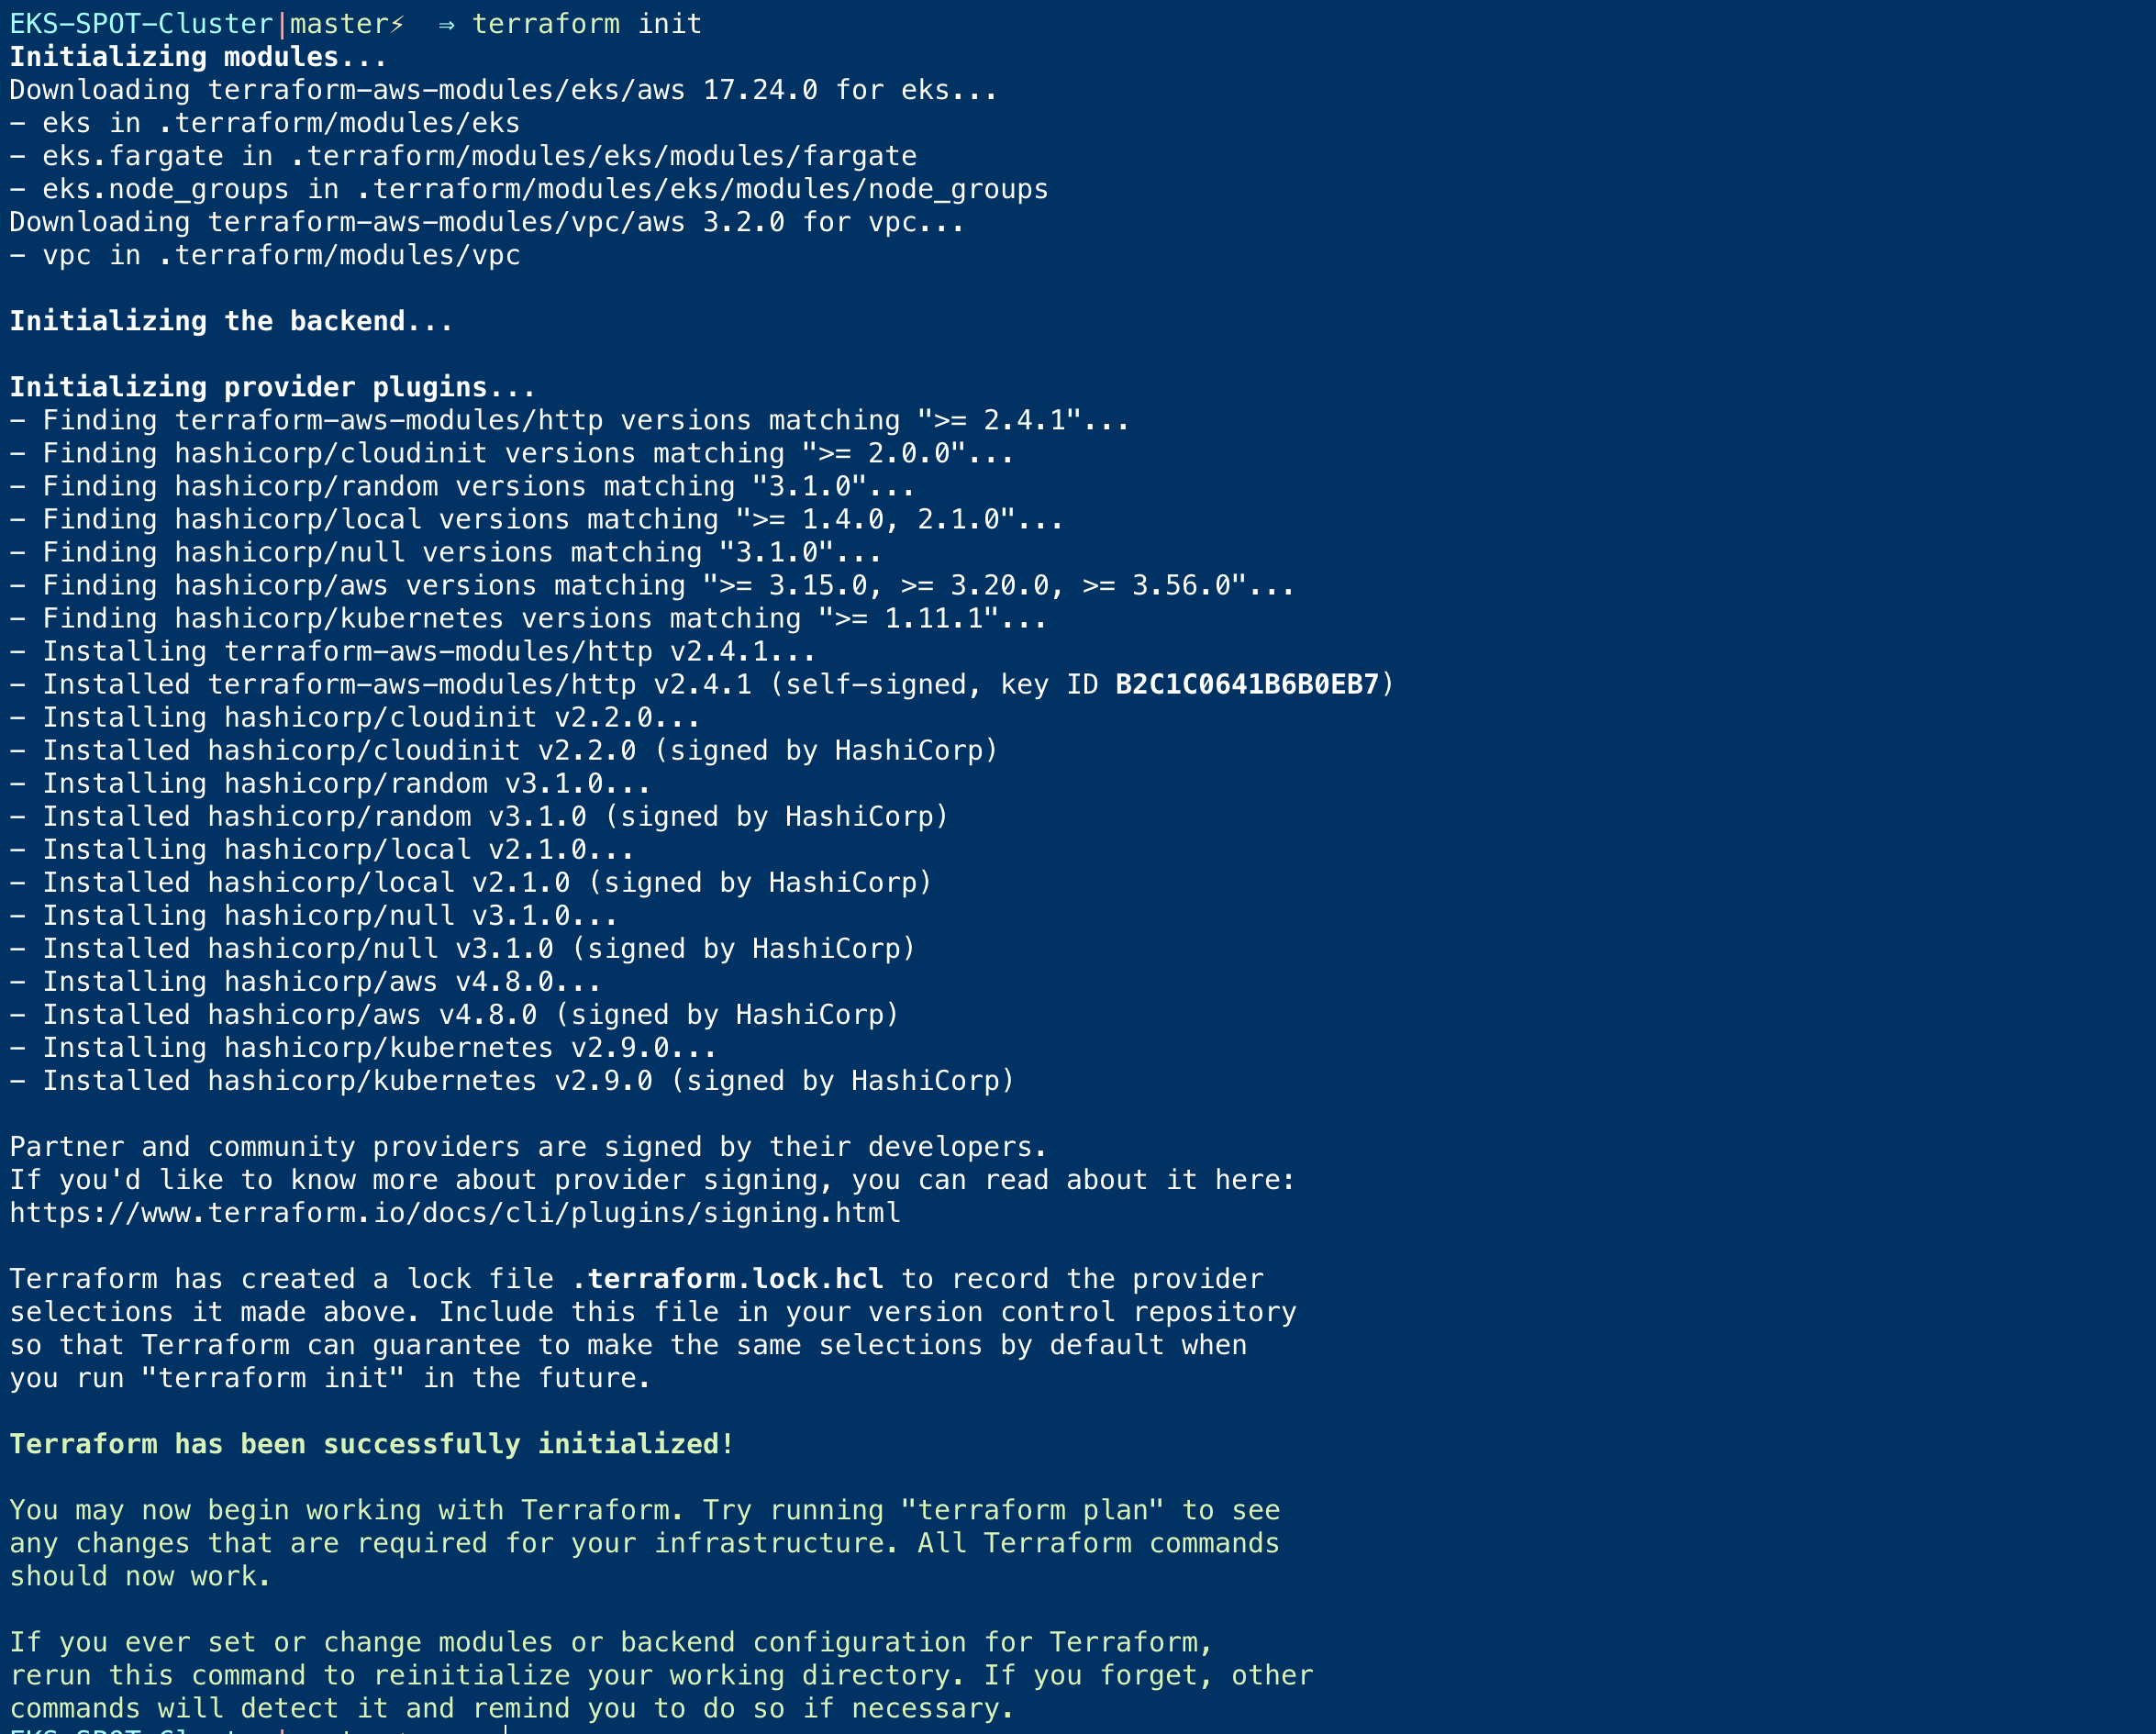
Once the Initialization complete, you can go for the plan and apply
terraform plan -out tfplan.out
terraform apply tfplan.out
Upon completion of your Terraform execution. You would have your EKS Cluster ready with 3 nodes.
Before executing the kubectl command. you can use the KUBECONFIG file created by default during the terraform run
export KUBECONFIG=${PWD}/kubeconfig_<YourClusterName>
When you set this KUBECONFIG variable, kubectl would start referring to the local kubeconfig file created during the terraform run
Make sure you replace your cluster name after kubeconfig_
The second thing to do is to set the default AWS region and the profile ( if you are using multiple AWS CLI profiles)
If you are not having any named profiles in AWS CLI. you may not have to do the AWS_DEFAULT_PROFILEexport since we have set the region as us-east-2in providers.tf file
you need to set your AWS_DEFAULT_REGION to the same. this is not needed if you have configured your default region to the same region.
export AWS_DEFAULT_REGION=us-east-2
export AWS_DEFAULT_PROFILE=personal
Validate the Nodes and the EKS Cluster
If you have used the right AWS Profile and Region as same as the ones mentioned on the providers.tf file and have exported the KUBE_CONFIG right
you should now be able to list the nodes and connect successfully to your cluster
Now execute the kubectl get nodes command to validate if the nodes are created and you are able to see them
Also to make sure if the nodes having the right labels respective to their instance type. Try to use the following command
kubectl get nodes -o json|jq -C '.items[] | .metadata.name,.metadata.labels'
This would show the nodes and their labels and you can see the instance_type and the other relative labels

You can revalidate this info by logging to aws console or using aws cli as well.
Conclusion
In this article, we have learned how to create EKS Cluster with SPOT and an on-demand worker group of EC2 instances.
We also learn a few more other things
- Difference between workergroup and nodegroup
- Adding Label to the node during the EKS Cluster creation
- Listing the nodes with labels using kubectl
- How to use AWS DEFAULT variables to choose the AWSCLI profile and region
Hope this article helps you. If you have any questions please do reach out to us on the comments section
For any professional support for individuals or for your organization. reach us at [email protected]
Cheers
Sarav AK

Follow me on Linkedin My Profile Follow DevopsJunction onFacebook orTwitter For more practical videos and tutorials. Subscribe to our channel
Signup for Exclusive "Subscriber-only" Content